发布于 

Github Action

Github workflow

这个真的是太香了,github官方集成CI/CD工作流,自动化部署流程。我目前只用它部署了博客。

⨠ Action 在存储库中.github/workflows下创建新的yml文件

可以自己创建,也可以使用模板
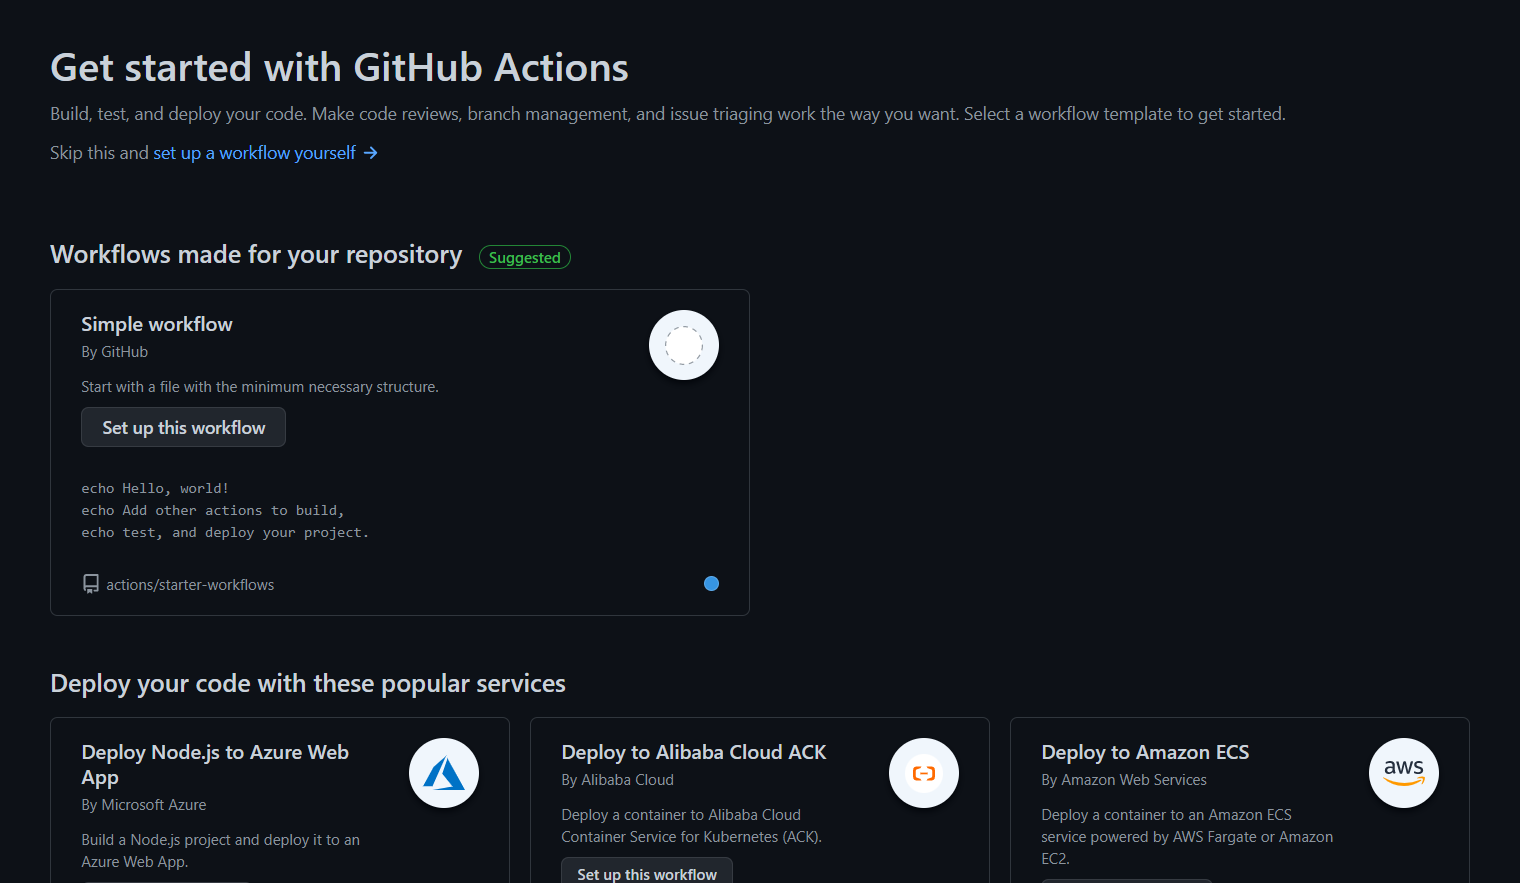
alt

这里选择自己创建的

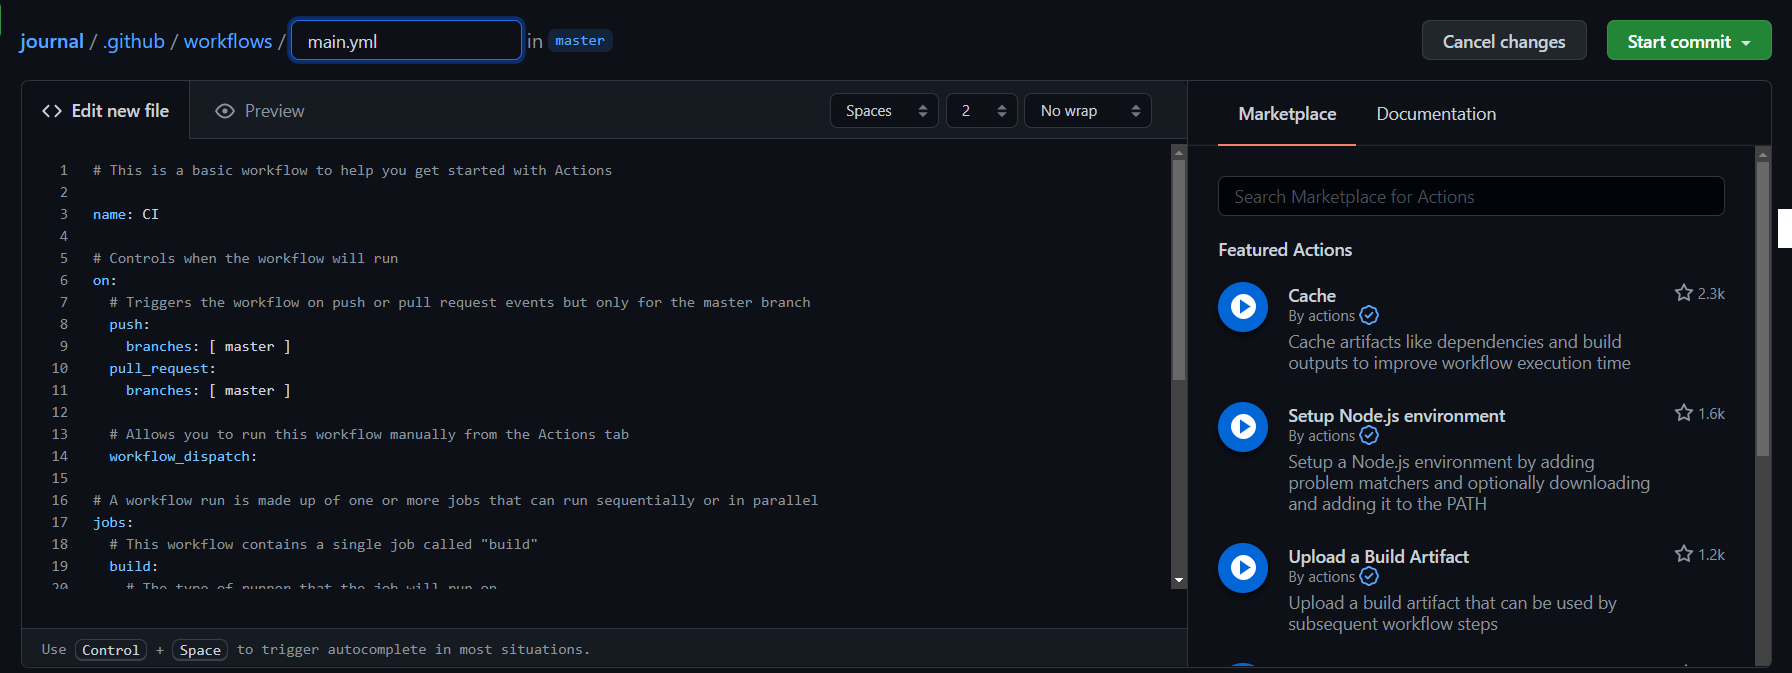
alt

右侧是他人封装的通用的模块和github action文档,可以使用uses: <module>调用

我的配置

name: auto deploy
env:
GITHUB_USER: wmxzrs
GITHUB_REPO: github.com/wmxzrs/blog
THEME_REPO: themes/yun

on:
push:
branches:
- main

jobs:
build:
runs-on: ubuntu-latest
steps:
- name: set time zone
run: |
cp /usr/share/zoneinfo/Asia/Shanghai /etc/localtime
- name: checkout source
uses: actions/checkout@v2
- name: setup nodejs
uses: actions/setup-node@v1
with:
node-version: "14.15.5"
- name: setup nodejs environment
run: |
npm install hexo-cli -g
npm ci
- name: generate pages
run: |
hexo generate
ls -R public/
- name: deploy part
env:
HEXO_DEPLOY_KEY: ${{ secrets.HEXO_DEPLOY_KEY }}
GITHUB_USER: wmxzrs
DEPLOY_REPO: wmxzrs/blog
run: |
git config --global init.defaultBranch main
cd ./public&& git init && git add .
git config user.name "wmxzrs"
git config user.email "wmxzrs@outlook.com"
git remote add origin https://$GITHUB_USER:$HEXO_DEPLOY_KEY@github.com/wmxzrs/blog.git
git remote -v
git commit -m "GITHUB ACTION AUTO DEPLOY at $(date)"
git push origin --force main:main

yml语法就不多叙述了😄,可以看一下Learn X In Y Minutes

🌹流程图

👀含义和注释

⨠在配置中:

item meaning
name 自定义步骤名称
on 触发条件
run 运行命令
` `
uses 引入,使用
with 附带参数
env 环境变量

官方文档看着头痛,这是个人理解,不严谨仅供参阅 📖


要注意的地方

  • token的使用

    • 如果使用access_token推送你的博客的话,要将remote改为https的方式
      git remote set-url origin https:$github_user_name:$github_token@github.com/$github_user_name/$github_repo.git
    • 如果没有remote可以直接添加
      git remote add origin https:$github_user_name:$github_token@github.com/$github_user_name/$github_repo.git
  • 配置中npm ci会移除node_modules但是不会改变package.json,并按照json文件将所有的包配置好。


本博客所有文章除特别声明外,均采用 CC BY-NC-SA 4.0 许可协议,转载请注明出处。

本站由 @Rae 创建,使用 Stellar 作为主题。